Hugging Face provides a wide variety of pre-trained models for tasks like text generation, summarization, translation, and more. Google Colab, on the other hand, offers free cloud-based Jupyter notebooks with GPU support. Together, they make a powerful combination for quickly experimenting with AI models.
In this guide, I’ll walk you through step by step on how to run Hugging Face models on Google Colab — from creating an account to executing your first model.
1. Why Use Hugging Face on Google Colab?
- No installation required: You don’t need to configure your local environment.
- Free GPU access: Colab gives you access to GPUs for faster model execution.
- Easy experimentation: You can quickly try out Hugging Face models without setting up servers.
2. Preparing Your Hugging Face Account
Before running any model, you’ll need a Hugging Face account and an access token.
- Go to Hugging Face and sign up for a free account.
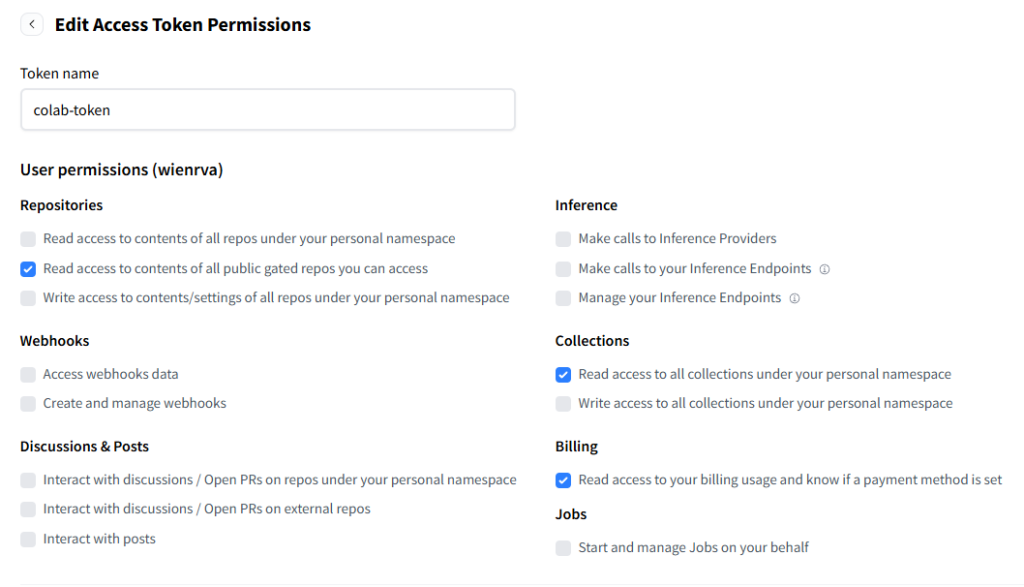
- Navigate to Settings → Access Tokens.
- Create a new token with Read permissions.
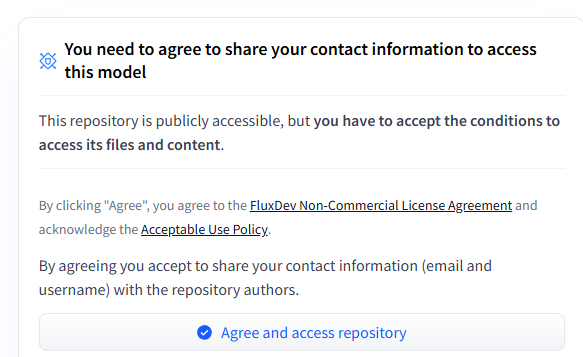
- On the model page you want to use, click the Agree to Terms of Use button if required (some models need explicit access approval).
3. Setting Up Your Hugging Face Token in Google Colab
Google Colab allows you to store secrets securely. This is where you’ll put your Hugging Face token.
- Open a new Colab notebook.
- On the left sidebar, click the 🔑 (Secrets) tab.
- Create a new secret with the name
HF_TOKENand paste in your Hugging Face token.
4. Logging Into Hugging Face in Your Notebook
Now, let’s log in to Hugging Face inside your Colab notebook.
from huggingface_hub import login
from google.colab import userdata

# Load Hugging Face token from Colab secrets
hf_token = userdata.get('HF_TOKEN')

# Login to Hugging Face
login(hf_token)
This authenticates your notebook so you can access private or gated models.
5. Running Your First Hugging Face Model
Let’s try a simple example using the transformers library. We’ll load GPT-2 for text generation:
from diffusers import FluxPipeline
import torch


# Load the model
pipe = FluxPipeline.from_pretrained(
    "black-forest-labs/FLUX.1-schnell",
    torch_dtype=torch.bfloat16  # or torch.float16 if bfloat16 unsupported
).to("cuda")

# Set random seed for reproducibility
generator = torch.Generator(device="cuda").manual_seed(0)

# Define your prompt
prompt = "A futuristic class full of students learning AI coding in the surreal style of Salvador Dali"

# Generate image
image = pipe(
    prompt,
    guidance_scale=3.5,         # try 0.0 for free-running, 3–7 for prompt following
    num_inference_steps=4,      # FLUX.1-schnell is optimized for very few steps (fast!)
    max_sequence_length=256,
    generator=generator
).images[0]

# Save the image
image.save("surreal.png")
You should see a generated continuation of your prompt.
To try other models, simply replace "gpt2" with another model name, such as:
bert-base-uncasedfor BERTfacebook/bart-large-cnnfor summarizationbert-base-chinesefor Chinese NLP
6. Example Output
Here’s an example output from the code above:
[{'generated_text': "Hello, Hugging Face! I'm excited to try out this model today and see how it works."}]
Every run will produce slightly different results, since text generation is not deterministic.
7. Important Notes
- Token permissions: Make sure your token has at least Read permissions.
- Model restrictions: Some models require special approval. Check the model’s page for access requirements.
- Colab limits: Free Colab sessions may disconnect after a few hours, and GPU usage has daily limits.
8. Conclusion
Running Hugging Face models on Google Colab is quick and efficient. With just a few steps — creating an account, generating a token, adding it to Colab secrets, and running a few lines of code — you can start experimenting with powerful pre-trained models right away.
If you’re exploring NLP or AI in general, this setup is one of the easiest ways to get started. Try it out with different models and see what you can build!
If you’d like to explore more tutorials like this, check out our AI category for related guides.